
Hey, there!
My friend and Pro member Caroline Larson just dropped me a note that started with, “If I can do it, anybody can. :-)” (Smilie face included.)
And what she was talking about was a nifty little quiet recording space she set up in her not-so-quiet apartment.
And she’s right: if she can do it, so can you.
I’ll let her tell you the story, complete with pictures.
David,
About a month and a half ago I relocated from Palm Springs to Pasadena.
Back in Palm Springs, I had a really good, very quiet recording area in my walk-in closet. But the new place I moved into, a lovely studio apartment, unfortunately has no walk-in closet. “No problem,” I thought, “I am sure I can make this work.” Well, the first recording in my studio area did not go very well, despite my efforts to make it as VO record-proof friendly as possible.
I was beside myself. No matter what I tried, it sounded awful!
So, that’s when I called on the help of my wonderful VO family and the Godfather of my VO family, you :-)
With the helpful ideas and suggestions from you, my friends Karen Richter, Steve Bethers, my landlord Ralph, Home Depot (yes – who knew Home Depot would become one of my new best VO friends), and let’s not forget the internet, I created a recording booth/area in my little studio apartment.
Here’s how I did it.
The recording booth is made up entirely of padded moving blankets. Here are pictures showing you how it was created.
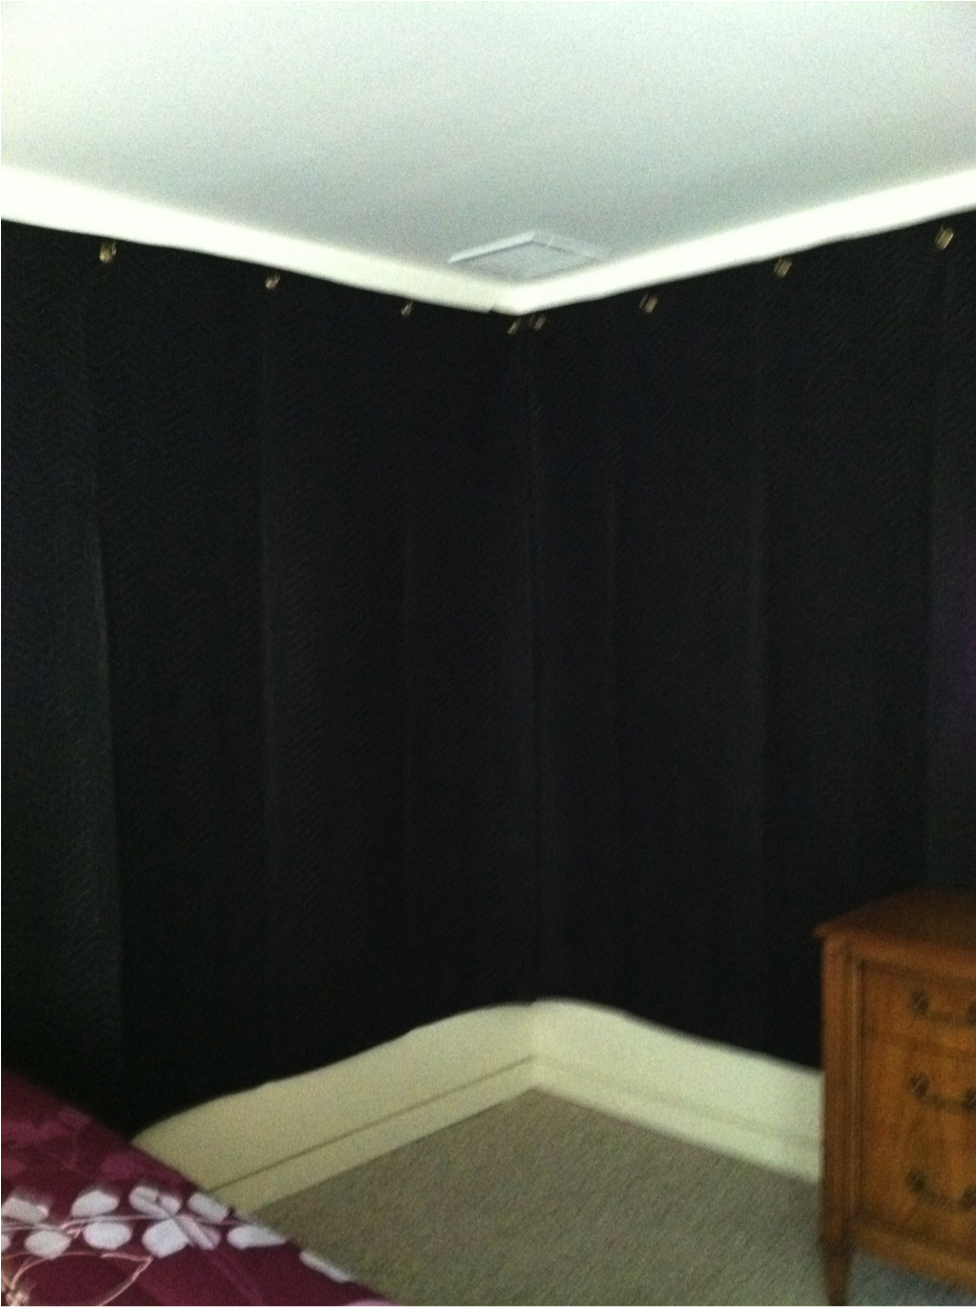
First, I found a corner in my studio furthest away from all windows and my fridge (boy, for a small fridge it’s noisy!!).
From there I hung the padded moving blankets on both walls. You can get 80” x 72” padded moving blankets from Amazon. They are 6 for $29.97 – here’s a link. This is what they looked like.
In order to be able to hang the blankets on the walls, I went to Home Depot and bought a Grommet Kit…

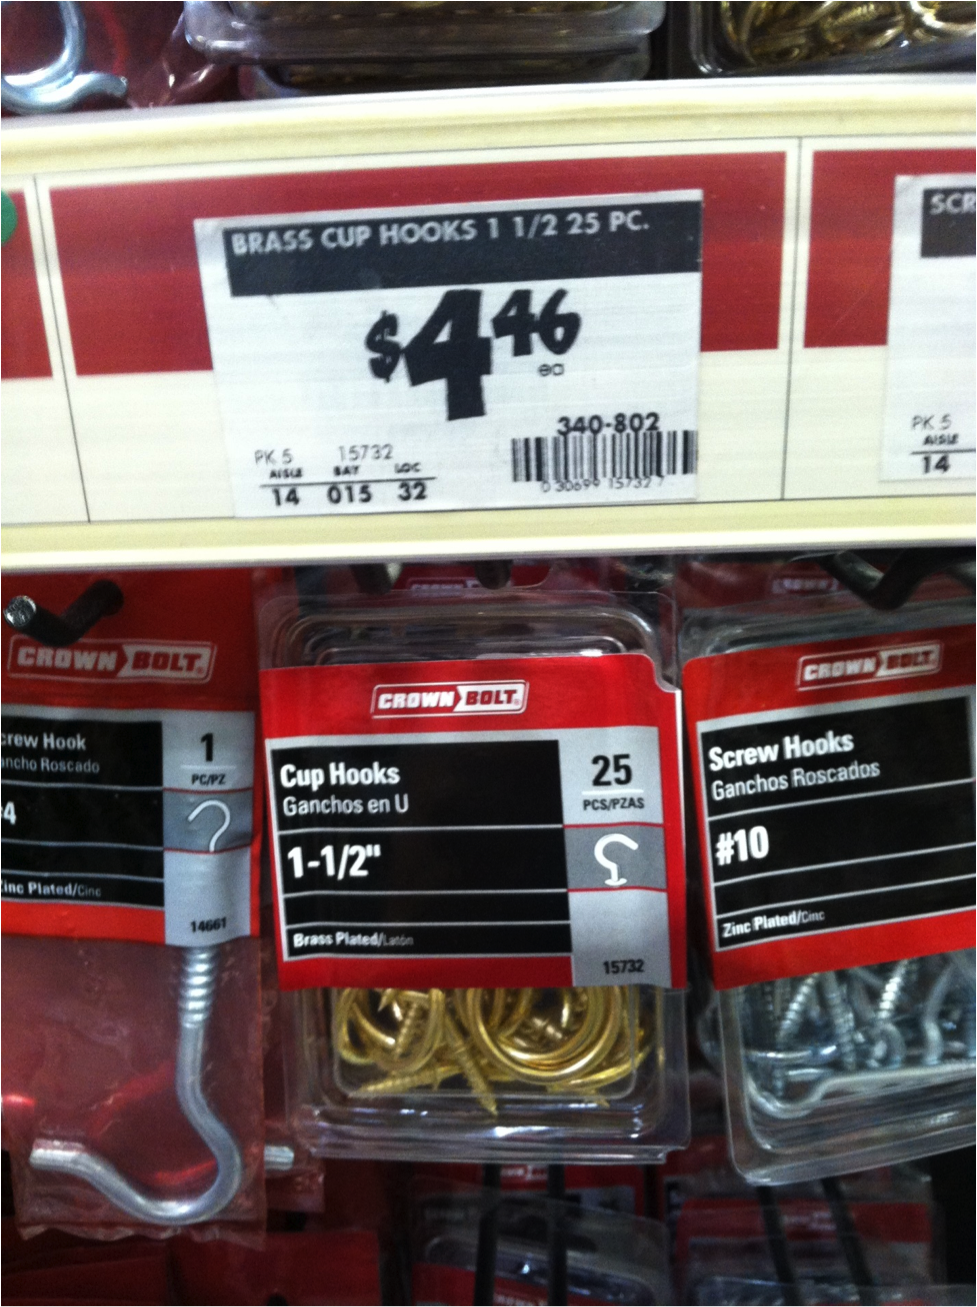
…which allowed me to put holes in the blankets. Then I bought some Self Drilling Dry Wall Anchors (you don’t need an electric drill or a stud finder or studs to use these – you just screw them directly into the dry wall – LOVE IT!!!)…

…and also 1-1/2″ Cup Hooks that screw into the Dry Wall Anchors.
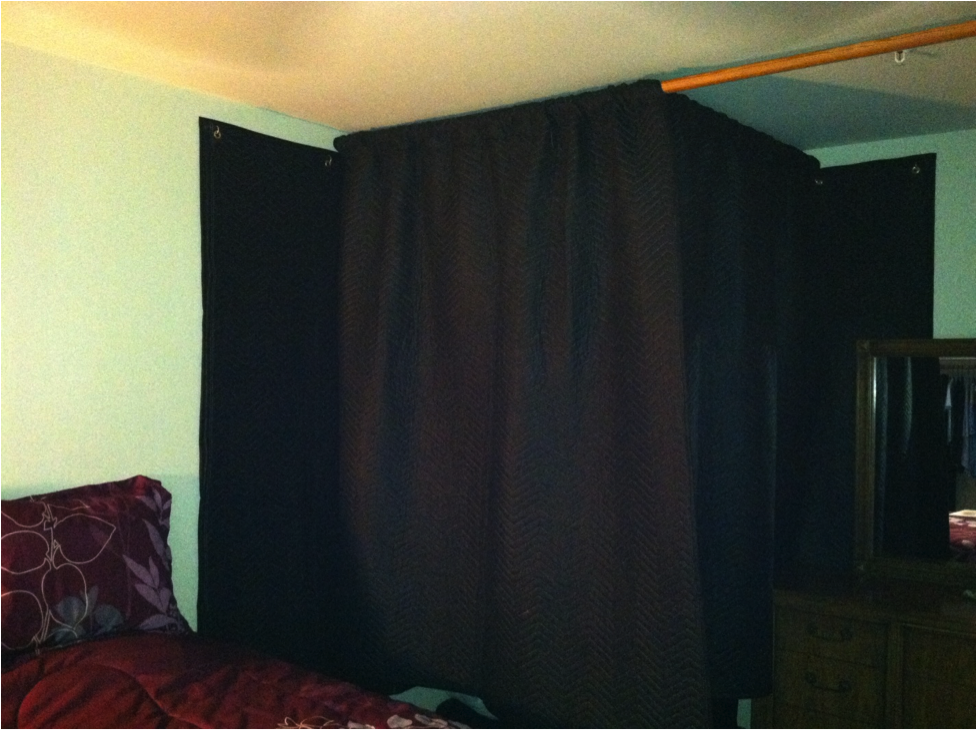
From there, the rest of the booth was created with wooden closet poles, also from Home Depot, to create a frame so that the other blankets could hang, completely enclosing me in and creating a ‘blanket booth’.
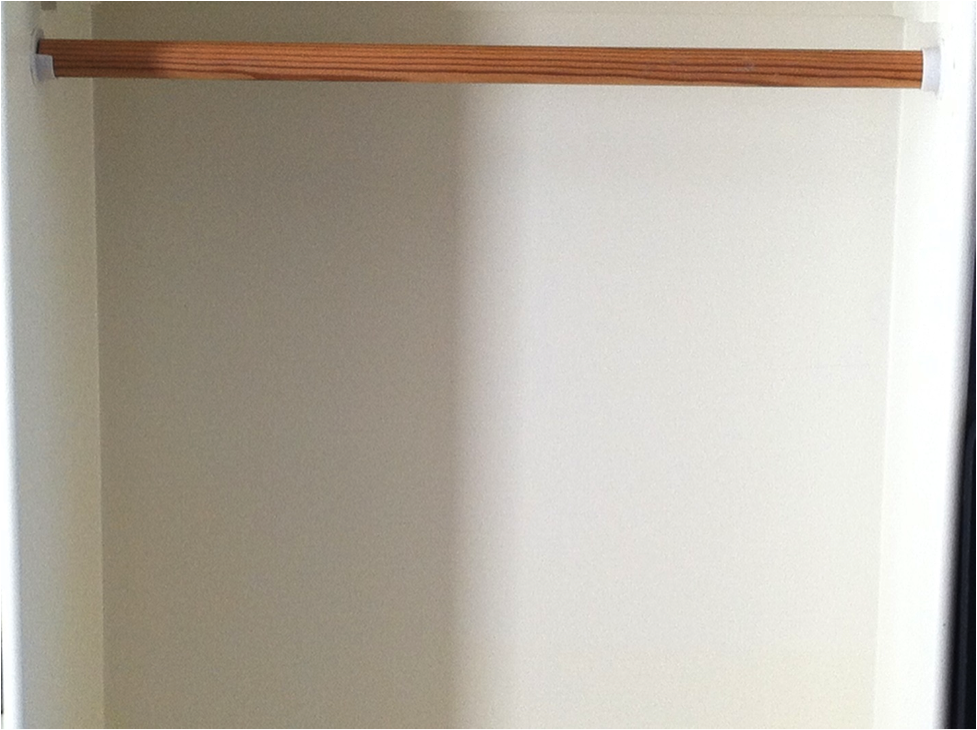
I did go to a furniture upholstery place and asked if they wouldn’t mind sewing my blankets at one end to create an opening for the closet poles to slip through, thus creating my hanging ‘blanket booth’.
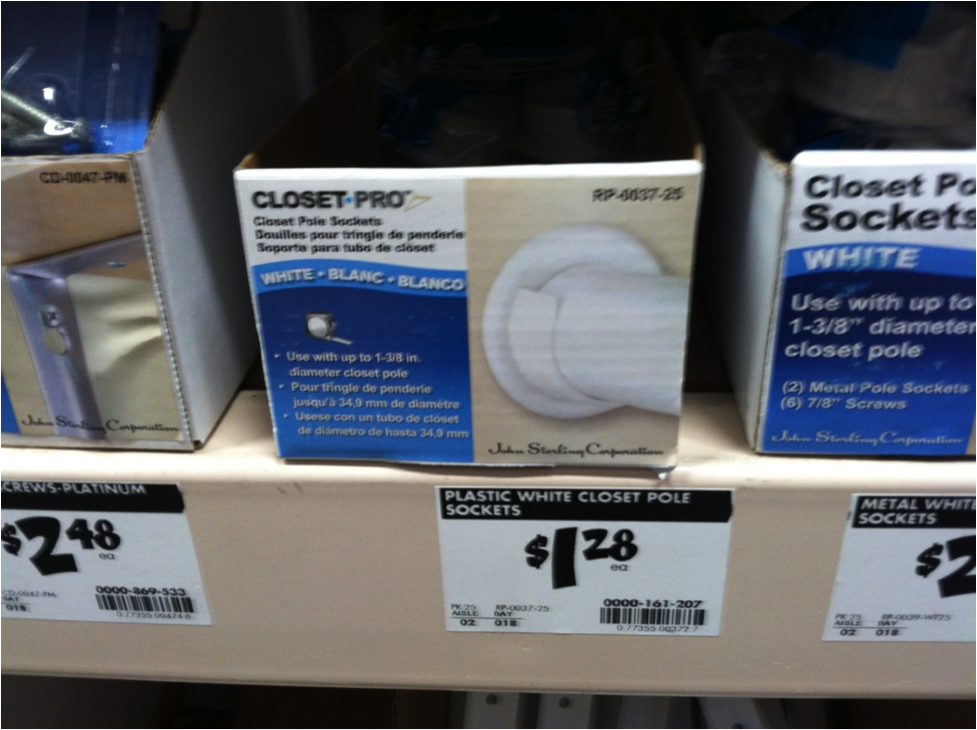
The wooden closet poles were secured to the walls by using closet pole sockets, also from Home Depot, ensuring the wooden poles would be able to hold the weight of the blankets and be a sturdy frame.
And here is a picture of my completed Moving Blanket Recording Booth. All said, it cost about $250 to make.
And here is a picture of the inside of the booth where I pinned some Auralex Studiofoam to the blankets using large safety pins, just for some color and added sound dampening.

As you can imagine, it gets a little toasty inside the booth, and a regular light bulb made it feel more like a sweat lodge than a recording area. So after a suggestion from a friend, I was advised to purchase a CFL bulb and instantly I felt the difference heat-wise – the CFL bulb does not generate heat (so another lesson learned :)
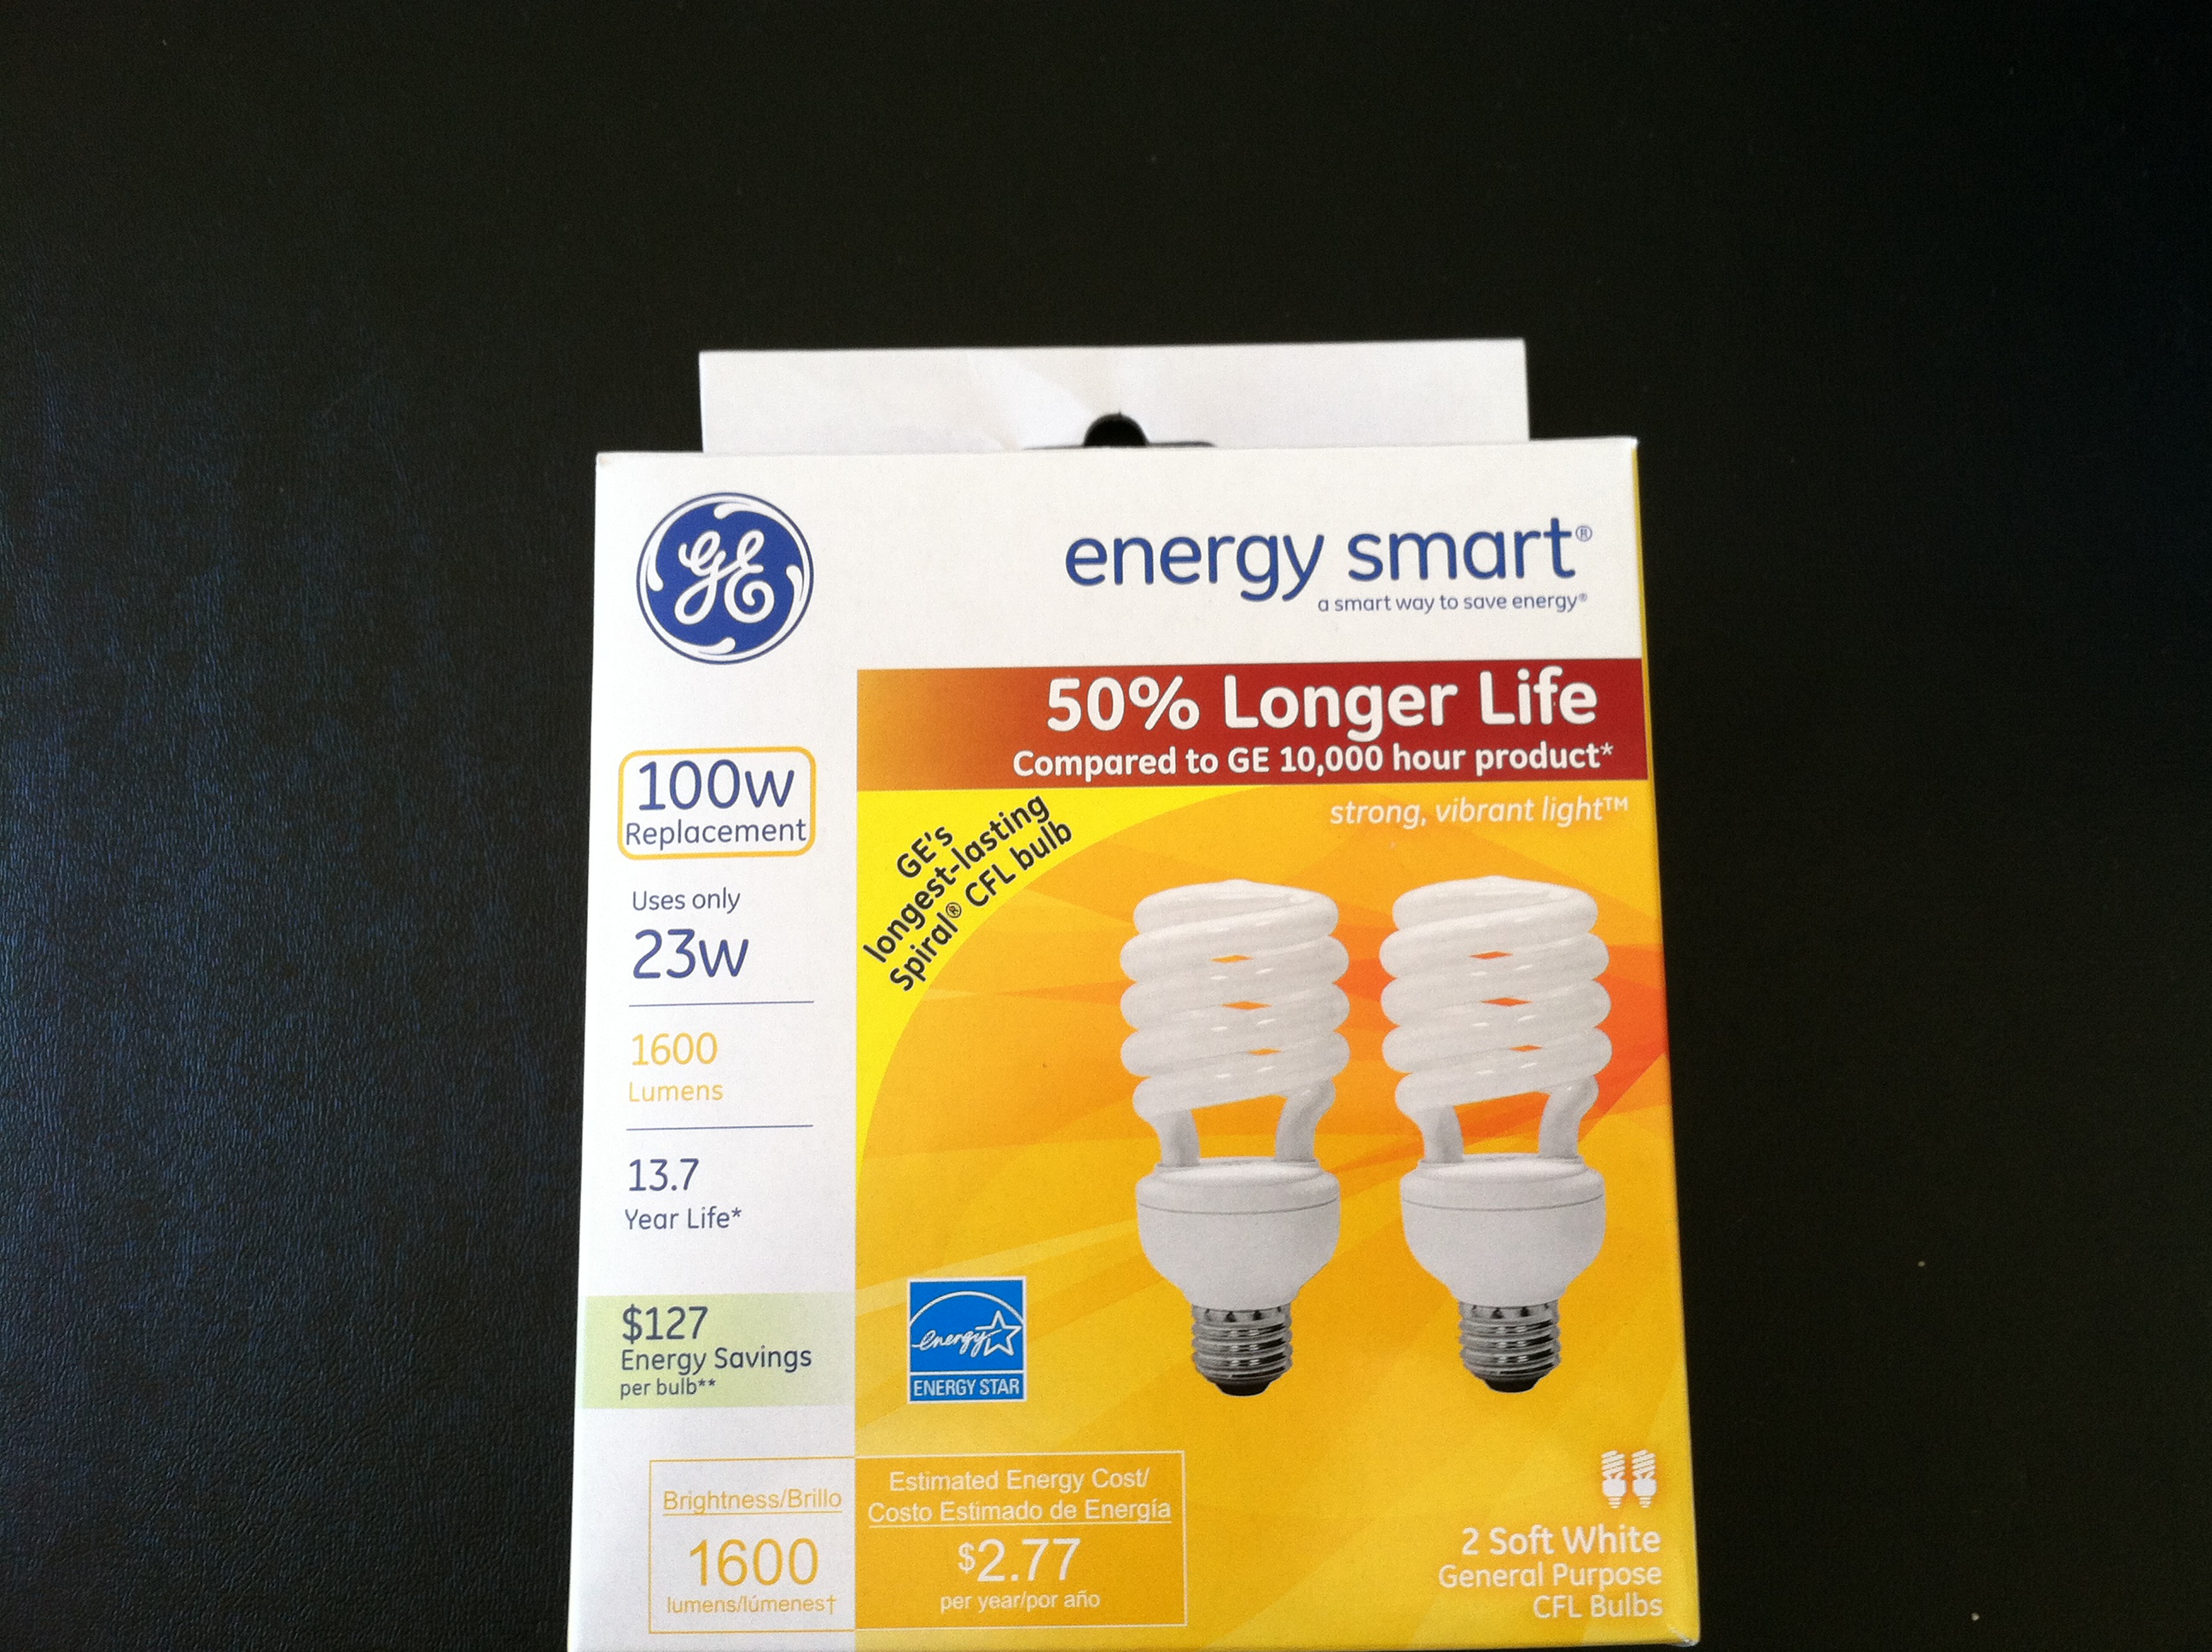
I tell you, I learn something new every single day – it’s great!!!!
And that’s it!
Thanks!
Caroline
That’s just awesome. Caroline sent me before and after audio clips, and the difference is like night and day. This set up cuts down mostly on the reverberation and conducted noise from within her apartment – it’s not going to be great at stopping airplane noise – but it’s a really great solution for a very modest cost.
I’m so proud of her!
Now…do you think you can do this?
Hope this helps.
David
This is so helpful. I am moving and have to create a new recording space…I will use every one of these suggestions…..thanks, C.J. And thanks, David, for passing it on!
This is brilliant! Thanks for sharing!
This is great stuff! Thanks!
Brilliant! Love it.
Fairly good setup if you are in a fairly noisy apartment but a ultra silent booth would definitely be the option if too much outside noise.
Great article.
I’ve got my mic set up on a stand inside a shallow sliding-door closet. Jackets, towels, and other linens dampen the sound in front of me while a 3-panel room divider draped with furniture pads works on the sound behind me.
Of course, nothing can stop the drone of an idling truck directly below my apartment or the flight path of helicopters directly above my apartment. .
The only thing I’d say is that if you spending a little more for better blankets can help deaden reflections. (A lot of the rental/storage places sell super thin material – you might find significantly better material looking for comforter or drapery fabric.) My favorite is the Producer’s Choice sound absorbing blankets which you can find through a bunch of places (and they’ll even install grommets for you). Still won’t take prevent environmental sounds, but good, thick material.
Thanks for sharing this David!
It definitely can be done! I designed and built a booth from PVC pipe, screws, and accoustic blankets using LED lights. It’s gotten the sound blessing from two VO audio engineers – yea!
Terrific!! So helpful!
Awesome! Recalling Caroline’s lovely voice and talent from David’s classes, it’s great to know it will be reflected in her recordings.
I, too, built a recording space, where David himself shut the door, snapped his fingers as a sound check and burst out to say, “Sounds good.” The gunmetal gray foam I initially installed made for a space just too ugly to sit in for long, (depressing!) so I took out my 1964 Singer sewing machine, making draperies and slipcovers for foam panels now on the walls, door and ceiling. Note: for best sound, cotton is key!
If anyone needs help with a bit of sewing and design advice for a pleasant space with great sound, I’m happy to help. Feel free to contact me. It’s my way of giving back and making more friends in VO.
Caroline, inspired by you, I bought Producer’s Choice blankets that have the grommets already installed.
Then I bought a bunch of Transparent Heavy Duty Wall Hooks (10/Pcs) from Amazon (https://www.amazon.com/gp/product/B073D6BVQD/ref=oh_aui_detailpage_o06_s00?ie=UTF8&psc=1). They are reusable and hold 13.2 lbs per adhesive hook on wall or ceiling.
I had already purchased Silent Guard windows from Lowes plus full Shaker shutters to go over the windows for even more silence, and I bought a bunch of black-out curtains to go in front of the windows and in front of the blankets.
Now I’m waiting for all this to arrive as well as a small desk and a monitor David recommended to go with my 2015 MacBook so there is as much silence as possible.
I’m going for the gold here!!! Thanks for sharing your solution. It helped me figure out mine. :)
Wow. That is what I call bias for action. Finding a way and making it happen. Great job Caroline. Speaks volumes for your commitment to your work and goals. Very inspiring!
Many thanks for sharing all of these ideas. I had sound proofing put into the walls of a wardrobe. I will also look into adding more soundproofing. You have supplied me with so much more information. Fabulous!